Do you want to set your CapCut project to 4K and make it look even better than it already does? Well, we’ve got you covered!
You may want to set the project resolution to 4K to make it look even better and make use of the quality of your media.
But, you also may want to apply some effects to your project to make it look like it’s 4K, and make it look even more pleasing to the eye.
We will explain how you can do both of these things!
Let’s get right into this!
Table of Contents
How to set the project resolution to 4K
Firstly, we will show you how to change the project resolution to 4K.
1. Open CapCut and open your project
So, open up CapCut and either start a new project or open an existing one.
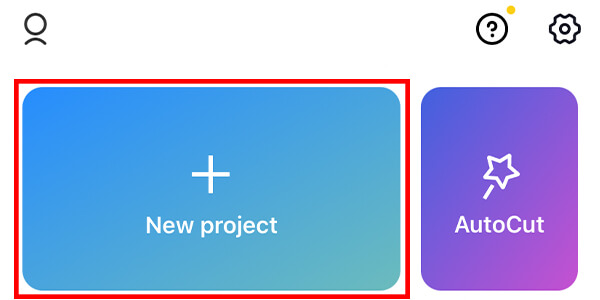
In order to start a new project, tap on “New project” at the top of CapCut.
Alternatively, if you want to open an existing project then scroll down and you will see a list of projects on your device.
The projects are in chronological order, so you may need to scroll far down if you haven’t opened the project you’re looking for in a while.
2. Tap on the current resolution of your project
Next, you need to tap on the current resolution of your project.
You will find the current resolution of your project in the top right of CapCut, to the left of the Export button.

Tap on it. A menu will then slide down.
3. Change the resolution to 4K
Now, you will see a few different rows, all of which you can adjust.
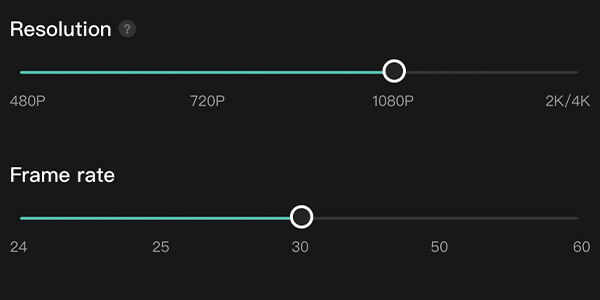
The top row should be “Resolution”.
As you can see in the picture, there are four different options:
- 480P.
- 720P.
- 1080P.
- 2K/4K.
In order to set the quality of the project to 4K, you need to drag the slider to “2K/4K”.
Also, you can adjust the frame rate as well. The higher the frame rate is, the smoother the video will look because there are more frames per second.
However, higher quality video means larger file sizes, which is a trade-off and something to consider.
How to make your project look 4K
Now, here are the effects you can apply to your project to make it look like 4K.
1. Open CapCut and open a project
The first thing you need to do is open CapCut and open the project that you would like to make look like it’s in 4K.
2. Tap on “Adjust” in the toolbar
Next, you need to navigate to the CapCut toolbar and tap on “Adjust”.
You may need to scroll along the toolbar to find this option.

3. Apply the following adjustments to the video
So, here are the adjustments we will apply to the video and project.
You should customize these and make other adjustments to get the ideal outcome and look for your video.
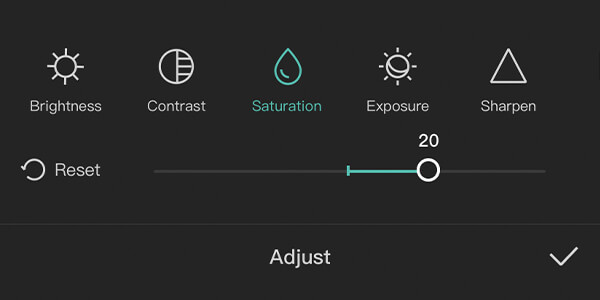
Firstly, tap on “Saturation” and drag it to 20.
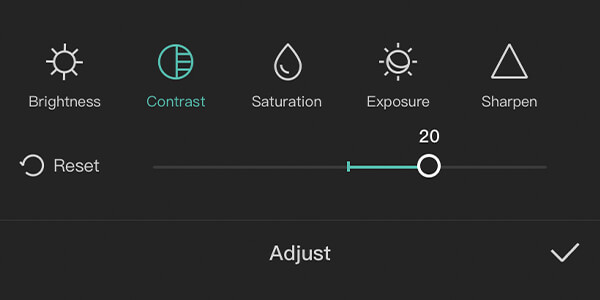
Secondly, tap on “Contrast” and drag it to 20.
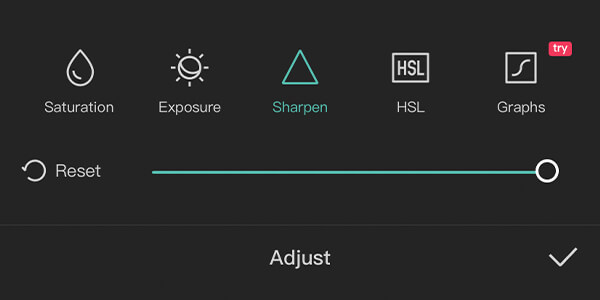
Thirdly, tap on “Sharpen” and drag it to 100.
These are the main adjustments we make, but as mentioned earlier, feel free to make other adjustments and change the values that we used.
Once you’re finished and you’re ready to apply the adjustments, tap on the tick in the bottom right.

Now, you will see the adjustment layer in your timeline. You can adjust the length of the adjustment layer by holding and dragging the ends of it.
You should adjust it so it covers the entire video or the parts you want it to.
Final words
We think these adjustments make the video look even better, but we understand that this is subjective.
If you don’t like the adjustments, then you can just delete the layer by tapping on it and tapping on “Delete” from the bottom toolbar.
So, we hope you find this guide useful, and that you achieve the results you wanted.
Rob’s social media:
Read more about GuideRealm and our editorial guidelines.