Do you need to move a file or multiple files from your Chromebook to your iPhone? If so, this is the article to read.
This guide will work for transfering all types of files, including, videos, photos and, much more!
Also, you won’t need to use any paid software or tools to follow this guide!
If the main guide doesn’t work for you, then near the end we will provide you with some alternative methods to help transfer your files, so keep reading!
Lets get right in to this!
1. Choose The Files On Your Chromebook Which You Want To Move To Your iPhone
Firstly, you need to find and choose the files which you want to move or transfer to your iPhone.
It doesn’t matter if there’s multiple files either, but it would be a good idea to move the files you want to transfer in to a folder so they’re altogether.
You can move on to the next step once you have your files ready.
2. Open A Web Browser And Go To Google Drive Or Dropbox
Secondly, you need to open up a web browser (Chrome will be fine) and you can either use Dropbox or Google Drive.
Dropbox and Google Drive are both cloud storage platforms.
So, you can upload your files from your Chromebook on to a cloud storage platform.
Then, you can download the files from the cloud storage platform on to your iPhone.
Don’t worry though, we will guide you through the exact process.
You will need to sign-in or register to Dropbox and Google Drive. If you are on a Chromebook, then you will probably have a Google account, so using Google Drive will be the easiest option.
3. Upload Your Files On To Google Drive Or Dropbox
Next, you need to upload your files to Dropbox or Google Drive.
However, we found it easier to create a folder on whichever cloud storage platform you use because then all of the files will be together.
On Google Drive:
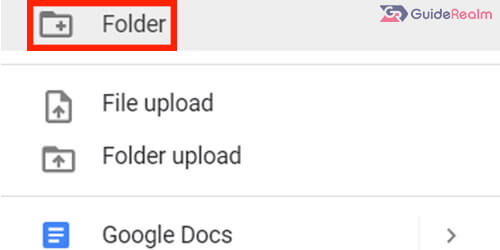
Go to the top left and click on “New” and a menu will drop down.

Now, click on “Folder”.
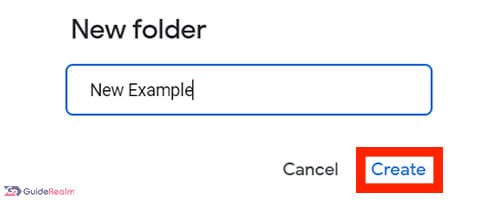
You can type in a name and click “Create”.
Next, you need to go in to the folder you just created and click on “New” in the top left and select “File upload” or “Folder upload”.
This will bring up your File Explorer and you can select the files you want to upload and once you’ve selected them, click “Upload” in the bottom left of your File Explorer.
Now, they will be uploading to the folder. You will see progress bars appear for each file you’re uploading.
The time that the uploading process takes will vary and depend upon how big the file sizes are and how many files you are uploading.
Make sure you keep your browser open until they have finished uploading.
On Dropbox:
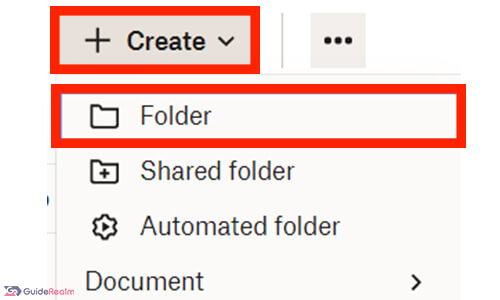
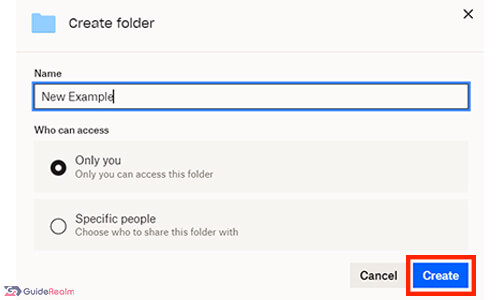
Click on “Create” and a menu will drop down and you need to click on “Folder”.
Then, you can name it and create it.
Next, you need to upload the files you want to transfer to your iPhone.
So, click “Upload” and you can choose if you would like to select files or a whole folder. You can select either.
Your File Explorer will launch and you can select files or a folder which you would like to upload.
Once you have selected the files or folder you want to upload, click “Upload” in the bottom right of your File Explorer.
Then, they will begin uploading and you will be able to see the progress of them.
This process may take some time depending on how many files you are uploading and the size of them.
Keep your browser open until they have finished.
4. Go On To Your iPhone And Download Google Drive Or Dropbox
You now need to go to your iPhone, and go to the App Store. Download whichever cloud storage platform you used to upload the files from your Chromebook on to.
Once you have downloaded either of the apps, make sure you sign in to the platform using the same account as you used on your Chromebook.
5. Download The Files On To Your iPhone
Now, you can open up the folder you created and upload the files to.
If you are on Google Drive:
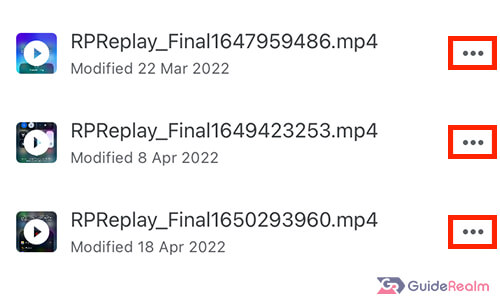
Make sure you are in the right folder, then click on the 3 dots next to the file and scroll down the list of options.
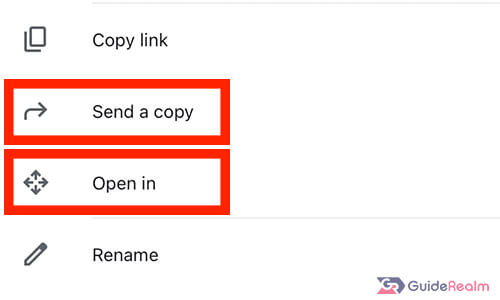
You can click on “Send a copy” if it’s an image or video and you would like to save it to your camera roll.
Alternatively, in the same list, click “Open in” and then you can click on “Save to Files”.
If you are on Dropbox:
Make sure you are in the folder where you uploaded the files to.
Then, tap on the 3 dots next to the file.

Now, tap on “Share” and some more options will drop down.
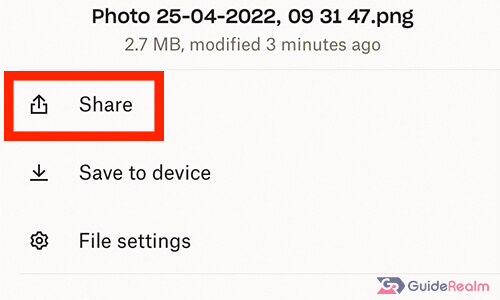
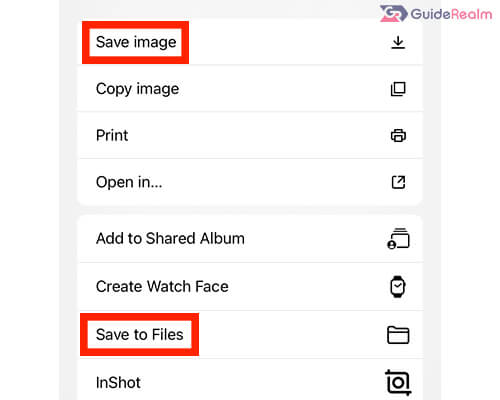
Tap on “Export file” and this will bring up the menu where you can save the file to your Photos or Files.

Scroll down on the menu and you can click on “Save image” or further down, “Save to Files” and you can choose which folder to save the file in on your iPhone.
Alternative Method
Another way of transferring small files, is by attaching them to an email and emailing it to yourself.
Then, you can log-in to your email on your iPhone and save the file.
However, this only works well if the files are small in file size.
Final Words
Now, you have successfully transferred files from your Chromebook to your iPhone!
We hope you found this useful.
Rob’s social media: Linkedin, Twitter, Instagram
Read more about GuideRealm here.