
Do you want to reverse audio on your iPhone? Well, we’ve got you covered!
You may want to record some audio and then reverse it, or you already have some audio you would like to reverse.
We will explain two methods that you can use to reverse audio.
Let’s get right into this!
Table of Contents
Method 1: Use Voice Changer Plus to reverse audio
For this first method, we will explain how you can use an app to reverse audio.
1. Download Voice Changer Plus
Firstly, you need to download Voice Changer Plus from the Apple App Store.
So, open the App Store and tap on the search button in the bottom navigation bar.

Then, you can search for “Voice changer plus”.
The app looks like this:

Next, you need to download it.
2. Open Voice Changer Plus
Now, you need to open the app.
The first time you open it, Voice Changer Plus will ask for permission to access your microphone, tap on “Ok”.
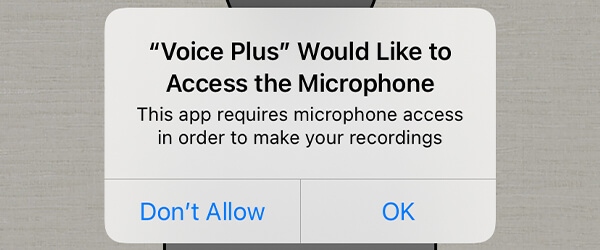
This is needed because your voice needs to be recorded using your microphone.
3. Record the audio you want to reverse
The next thing you need to do is record the audio you want to reverse.
You can either speak, or you can play back a sound from another device you would like to reverse as well.
So, tap on the Record button which looks like a microphone in a red circle, and either speak or play some audio you would like to reverse.

Once you have finished recording, tap on the Stop button which looks like a white square in a red circle that’s in the same location as the Record button.

You can tap the Play button which looks like an arrow pointing to the right with a green background.

4. Reverse the audio
Next, you need to tap on the outline of a person in the middle of the screen.
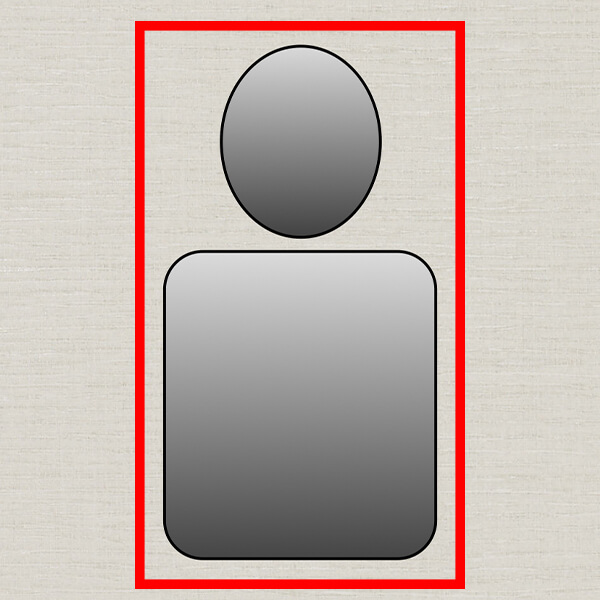
After you tap on the outline, all of the effects will appear.
You need to tap on “Backwards”. The icon looks like a clock going backwards.
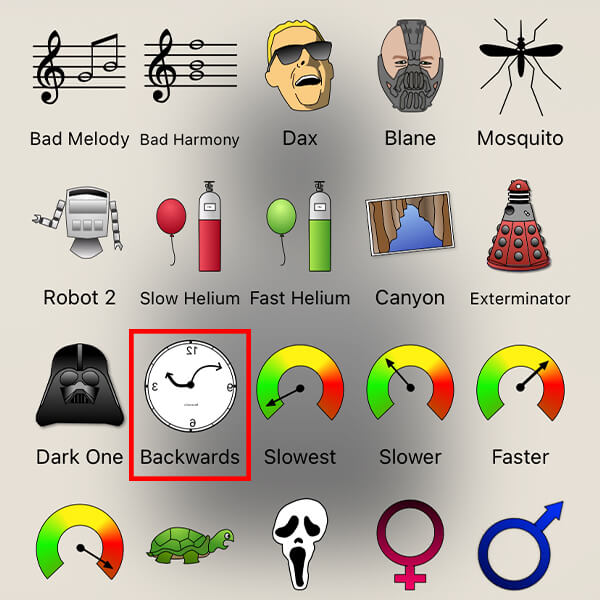
Then, you can tap on the Play button to hear the audio reversed!
Now, you can save or share your reversed audio. All you need to do is tap on the Share button in the bottom left of the app.
You can then select a platform you would like to share it to, or you can scroll down the menu and tap on “Save”.
Method 2: Use CapCut to reverse audio tracks and video clips
If you already have an audio track or video clip you would like to reverse, then you can use CapCut, a free video editing app.
When we reverse the video, we will also reverse the audio which is in the clip.
1. Download CapCut
Firstly, you need to open up the App Store and tap on the Search button in the bottom navigation bar.

Then, you can search for “CapCut“.
Once you have found it, download it to your phone.
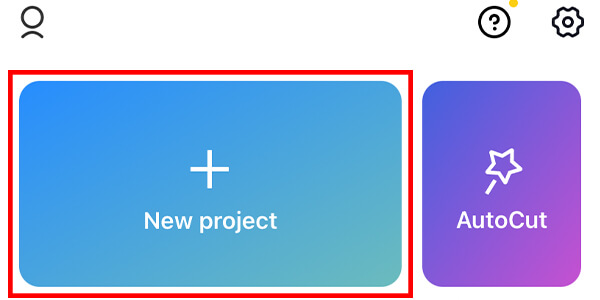
2. Open CapCut and create a new project
Next, you need to open CapCut and tap on “New project”.
CapCut may ask for permission to view your photo library. You need to give them permission in order to import and add clips to your projects.
Now, you will see all of your videos.
You will need to select the video clips you would like to reverse.
Once you have found a found you would like to add, tap on the checkbox in the top right of the video.

You can repeat this for multiple videos you would like to reverse.
After you have selected the videos, tap on “Add” in the bottom right.

3. Reverse the audio
Next, you tap on the clip in the project timeline so it has a white outline.
Then, you need to scroll along the toolbar at the bottom of CapCut until you see the option for “Reverse”.

Once you see it and you’re ready for the clip and audio to be reversed, tap on it.
It will take a few seconds for CapCut to reverse the clip.
You can play it back to hear what it sounds like!
If you would like to save and export it, tap on the Export button in the top right of CapCut.

It will then be saved to your camera roll and you can also share it on other platforms as well.
Final words
We hope you find this useful and that you managed to reverse the audio you wanted to.
Rob’s social media:
Read more about GuideRealm and our editorial guidelines.